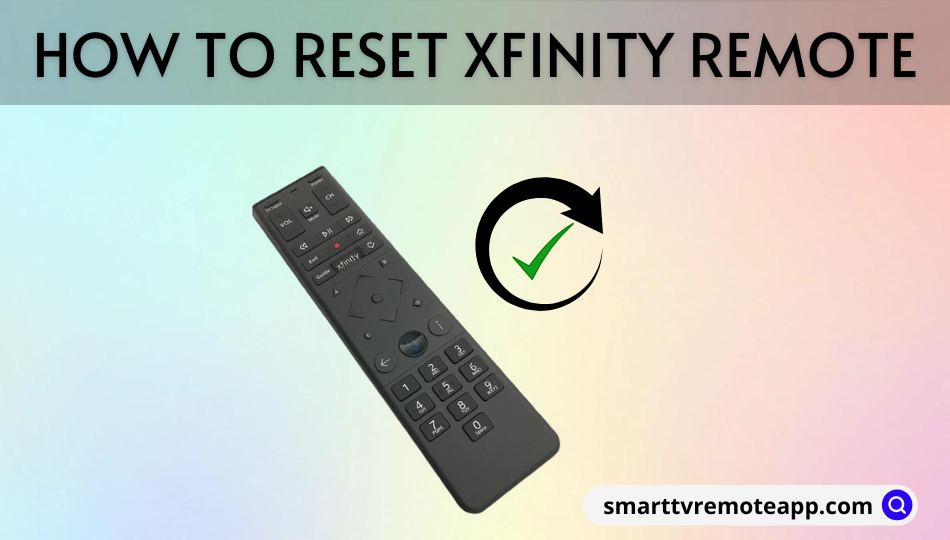
So, you’re stuck with an uncooperative Xfinity remote, huh? we’ve all been there. you grab the remote, press a button, and BAM! nothing happens. or worse, it starts changing channels on a completely different device. frustrating, right? well, don’t sweat it because reprogramming your xfinity remote is easier than you think. let me walk you through the process so you can get back to binge-watching your favorite shows in no time. no tech wizardry required, promise!
reprogramming an xfinity remote might sound intimidating at first, but once you understand the basics, it’s a piece of cake. the key is to follow the right steps and use the right tools. in this article, we’ll break it down step by step, so even if you’re not the most tech-savvy person, you’ll have your remote working like a charm. and hey, who doesn’t love a little DIY win?
let’s face it, a malfunctioning remote can ruin your entire evening. whether you’re trying to watch the big game or catch up on your favorite netflix series, a remote that won’t cooperate can be the ultimate buzzkill. but fear not, because by the end of this article, you’ll have the knowledge and confidence to reprogram your xfinity remote like a pro. so, grab a snack, sit back, and let’s dive in.
Read also:Jude Bellingham Parents A Closer Look Into The Family That Shapes A Rising Star
Understanding Your Xfinity Remote
before we jump into the nitty-gritty of reprogramming, let’s take a moment to understand what makes your xfinity remote tick. your remote is essentially the middleman between you and your entertainment system. it sends signals to your tv, cable box, and other devices, allowing you to control them with the touch of a button. but sometimes, those signals can get crossed, which is why reprogramming becomes necessary.
one of the cool things about xfinity remotes is that they’re universal, meaning they can control multiple devices. this is great for convenience, but it also means there’s more room for error. if your remote is acting up, it could be due to a variety of reasons, from dead batteries to incorrect settings. don’t worry, we’ll cover all the bases in this guide.
Why Reprogramming is Necessary
so why do we even need to reprogram an xfinity remote? well, there are a few common scenarios where reprogramming comes in handy. for starters, if you’ve recently replaced your tv or cable box, your remote might not recognize the new devices. or maybe you accidentally pressed a button that messed up the settings. whatever the reason, reprogramming is the solution.
another common issue is when your remote starts controlling the wrong device. for example, pressing the volume button might change the channel instead. this usually happens when the device codes are mismatched. by reprogramming your remote, you can reset the codes and get everything back in sync. it’s like hitting the reset button on your entire entertainment system.
Step-by-Step Guide to Reprogramming Your Xfinity Remote
now that we’ve covered the basics, let’s dive into the step-by-step process of reprogramming your xfinity remote. follow these instructions carefully, and you’ll have your remote up and running in no time.
Gather Your Tools
first things first, you’ll need a few tools to get started. don’t worry, they’re all pretty basic:
Read also:Does Joe Rogan Have Kids Unveiling The Truth Behind The Legend
- your xfinity remote
- the device you want to control (tv, cable box, etc.)
- a list of device codes (we’ll cover this later)
- fresh batteries (optional, but recommended)
make sure your remote has fresh batteries and is within range of the device you’re trying to control. trust me, nothing’s worse than troubleshooting a remote with dead batteries.
Step 1: Turn On Your Device
start by turning on the device you want to control. whether it’s your tv, cable box, or sound system, make sure it’s powered on and ready to go. this ensures that the remote can communicate with the device during the reprogramming process.
Step 2: Access the Setup Menu
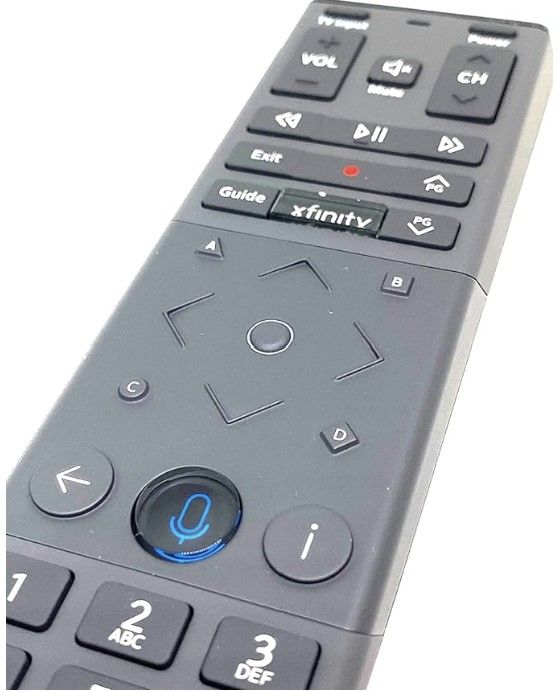
next, press and hold the "setup" or "code setup" button on your remote. this button is usually located on the top or side of the remote. keep holding it until the power button on your remote lights up. once it lights up, release the button and move on to the next step.
Step 3: Enter the Device Code
now it’s time to enter the device code. every device has a unique code that allows the remote to communicate with it. you can usually find these codes in the remote’s user manual or online. if you don’t have the manual, don’t worry. xfinity provides a comprehensive list of device codes on their website. just search for your device model, and you’ll find the code you need.
once you have the code, enter it into your remote using the number pad. if the code is correct, the power button on your remote should blink twice. if it doesn’t work, try a different code until you find the right one.
Step 4: Test the Remote
after entering the code, test your remote to make sure it’s working properly. try pressing the power button or changing the channel. if everything works as expected, congrats! you’ve successfully reprogrammed your remote. if not, don’t worry. just repeat the process until you find the right code.
Troubleshooting Common Issues
even with the best instructions, things can still go wrong. if you’re having trouble reprogramming your xfinity remote, here are a few common issues and how to fix them:
Issue 1: Remote Won’t Turn On
if your remote won’t turn on, the first thing to check is the batteries. replace them with fresh ones and try again. if that doesn’t work, make sure the battery compartment is clean and free of debris. sometimes a little dirt or corrosion can prevent the batteries from making a good connection.
Issue 2: Remote Controls the Wrong Device
if your remote is controlling the wrong device, it could be due to a mismatched device code. try reprogramming the remote with a different code. you can also check the device settings to make sure they’re configured correctly.
Issue 3: Remote Doesn’t Work at All
if your remote doesn’t work at all, it could be a sign of a more serious issue. check the infrared sensor on the remote to make sure it’s clean and unobstructed. if that doesn’t work, it might be time to contact xfinity support for further assistance.
Advanced Tips for Reprogramming
if you’re looking to take your remote reprogramming skills to the next level, here are a few advanced tips to keep in mind:
Tip 1: Use the Universal Code Search
if you can’t find the right code for your device, try using the universal code search feature on your remote. this allows you to search for codes automatically, saving you time and effort.
Tip 2: Customize Your Remote
most xfinity remotes allow you to customize the buttons to suit your preferences. for example, you can assign a button to launch your favorite app or control a specific device. check your remote’s user manual for instructions on how to do this.
Tip 3: Keep a Code Log
if you have multiple devices, it’s a good idea to keep a log of the codes you use for each one. this will save you time in the future if you need to reprogram the remote again.
Conclusion
and there you have it, folks. reprogramming your xfinity remote doesn’t have to be a daunting task. with a little patience and the right steps, you can have your remote working like new in no time. remember to keep your device codes handy, and don’t hesitate to reach out to xfinity support if you need help.
so, what are you waiting for? grab your remote, follow the steps, and get back to enjoying your favorite shows. and if you found this guide helpful, don’t forget to share it with your friends and family. after all, who doesn’t love a little tech troubleshooting victory?
Table of Contents
- Understanding Your Xfinity Remote
- Why Reprogramming is Necessary
- Step-by-Step Guide to Reprogramming Your Xfinity Remote
- Gather Your Tools
- Step 1: Turn On Your Device
- Step 2: Access the Setup Menu
- Step 3: Enter the Device Code
- Step 4: Test the Remote
- Troubleshooting Common Issues
- Advanced Tips for Reprogramming